Page 4 of 9
Re: DIY build - garage studio
Posted: Mon Sep 30, 2013 9:32 am
by skybluegary
We just put cheap carpet on all the walls, ceiling and floor, not high-tech I know, but it seems to work ok for us!
Re: DIY build - garage studio
Posted: Mon Sep 30, 2013 8:00 pm
by SenatorClayDavis
GRIMESPACE wrote:Corner-bead - do you mean the metal stuff used to protect drywall outside corners? Any tips on construction / assembly?
Exactly. It's already got all those holes in it so I just used little nuts and bolts to fasten the pieces to one another. I pretty much followed this guy's design for the corner traps and vertical ones too.
http://www.radford.edu/~shelm/acoustics/bass-traps.htmlGRIMESPACE wrote:Just checked out Delta FL - looks really perfect for my application (provides some decoupling benefit without adding much to the height of the pile), but I'm not turning up many sources - where did you buy it? Is the ply installed with a gap to the wall so that it doesn't touch? How is the carpet installed - glued down and/or on top of padding?
Home Hardware (major hardware chain) carries it in Canada, but that likely doesn't help you much. I've heard Lowes carried it at one point, not sure if that's still the case. There are some other similar products:
http://www.spycor.com/Cosella_Dorken_Concrete_Subfloor_s/109.htmSo there's the Delta FL, a layer of foam, then the ply, and yes, I left a gap along the wall. The plan was to put down the carpet (no I didn't glue it down) and then put trim down along the wall that would cover the gap between the floor and the wall but I never got around to that.
GRIMESPACE wrote:Any chance of some pics of your studio? It sounds exactly like what I'm trying to do, and I'd love to see the horizontal frames
I'll try to get down and snap some pics in the next couple of days. My studio build was real quick and cheap, not anywhere near as thorough as yours is, but if you're interested I'll show you what I did.
Re: DIY build - garage studio
Posted: Mon Sep 30, 2013 10:25 pm
by jamminjohn

Way ta go, Grimy!

Re: DIY build - garage studio
Posted: Tue Oct 01, 2013 1:26 pm
by Tortuga
skybluegary wrote:We just put cheap carpet on all the walls, ceiling and floor, not high-tech I know, but it seems to work ok for us!
Thanks for the tip!

Have been considering something like this, but may go for actual traps to see how that goes.
jamminjohn wrote::rawk:
Way ta go, Grimy!
Thanks!

Re: DIY build - garage studio
Posted: Tue Oct 01, 2013 1:36 pm
by Tortuga
SenatorClayDavis wrote:GRIMESPACE wrote:Corner-bead - do you mean the metal stuff used to protect drywall outside corners? Any tips on construction / assembly?
Exactly. It's already got all those holes in it so I just used little nuts and bolts to fasten the pieces to one another. I pretty much followed this guy's design for the corner traps and vertical ones too.
http://www.radford.edu/~shelm/acoustics/bass-traps.htmlGRIMESPACE wrote:Just checked out Delta FL - looks really perfect for my application (provides some decoupling benefit without adding much to the height of the pile), but I'm not turning up many sources - where did you buy it? Is the ply installed with a gap to the wall so that it doesn't touch? How is the carpet installed - glued down and/or on top of padding?
Home Hardware (major hardware chain) carries it in Canada, but that likely doesn't help you much. I've heard Lowes carried it at one point, not sure if that's still the case. There are some other similar products:
http://www.spycor.com/Cosella_Dorken_Concrete_Subfloor_s/109.htmSo there's the Delta FL, a layer of foam, then the ply, and yes, I left a gap along the wall. The plan was to put down the carpet (no I didn't glue it down) and then put trim down along the wall that would cover the gap between the floor and the wall but I never got around to that.
GRIMESPACE wrote:Any chance of some pics of your studio? It sounds exactly like what I'm trying to do, and I'd love to see the horizontal frames
I'll try to get down and snap some pics in the next couple of days. My studio build was real quick and cheap, not anywhere near as thorough as yours is, but if you're interested I'll show you what I did.
Good stuff! Really like the construction articles, and may copy them, too. Did you find corner bead with those cut-out triangles to let more air / sound in & out of the rockwool, or are you using the closed metal stuff like what I've seen available (see pic below)?

Will check out the floor stuff more as I go. Did you run standard plywood or OSB, and did you do anything to join it together or just lay it in place? I can pick up 7/16" OSB for $10 at home depot, and it holds my weight pretty well on the rooftop of the studio - might work well on top of that decoupling stuff and not take away too much of the effective height of the ceiling. Sorry to keep asking (I'm kinda slow, so bear with me) - is your carpet just laying right on top of the plywood - no glue, staples, tack strips, etc.?
Definitely want those pics. Very interested to see your acoustic treatment, especially since we seem to be in a similarly proportioned (square) room.
Thanks again!
Re: DIY build - garage studio
Posted: Tue Oct 01, 2013 4:40 pm
by SenatorClayDavis
GRIMESPACE wrote:Did you find corner bead with those cut-out triangles to let more air / sound in & out of the rockwool, or are you using the closed metal stuff like what I've seen available (see pic below)?
Yeah exactly like that pic with just the round holes (I've never actually seen any that looked like that triangle pattern that dude used). Either way I don't see it having any effect on the sonic properties of the trap.
GRIMESPACE wrote:Did you run standard plywood or OSB, and did you do anything to join it together or just lay it in place? I can pick up 7/16" OSB for $10 at home depot, and it holds my weight pretty well on the rooftop of the studio - might work well on top of that decoupling stuff and not take away too much of the effective height of the ceiling. Sorry to keep asking (I'm kinda slow, so bear with me) - is your carpet just laying right on top of the plywood - no glue, staples, tack strips, etc.?
I just used plywood with the tongue & groove edges so it just snapped in place. I'm not big on OSB in general (outgassing) and for basement flooring (less stiff, more moisture absorbent), but the differences are pretty negligible.
Yes I just laid the carpet on top of the plywood, but that choice was really just laziness. It doesn't move at all, especially since there's amps and stuff sitting on it, but I don't see any reason not to use something like tack strips.
Re: DIY build - garage studio
Posted: Wed Oct 23, 2013 3:44 pm
by SenatorClayDavis
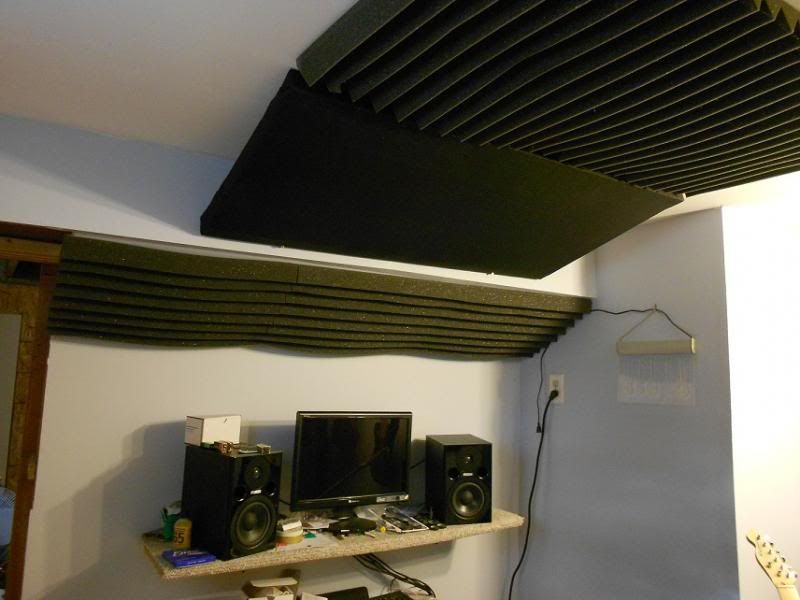
Here's the my bass traps (and foam panels):

and the sound treatment around my "mixing desk" area:
Re: Studio Build Update - Prep Work
Posted: Thu Nov 28, 2013 8:18 am
by KirkByrd
Re: DIY build - garage studio
Posted: Mon Dec 02, 2013 3:20 pm
by Tortuga
Quick update - things slowed considerably back in October when we figured the studio would make a really great painting room for some holiday stuff and my son's space shuttle bed, which had been sitting unassembled since our house flooded a couple of years ago. Figured I needed to prioritize that over the room. It's about done now, so going to get back to work in the studio this weekend. Will post an update then.
Re: DIY build - garage studio
Posted: Sat Dec 28, 2013 10:59 am
by Equ1nox
Looking great buddy! Happy Holidays!
Re: DIY build - garage studio
Posted: Sat Dec 28, 2013 12:03 pm
by ajaxlepinski
Wow! After 6 months on GAB, I finally stumbled upon this thread!
You've got a amazing, supportive family and it looks like you're almost ready to rock out! Congrats!!!
I had a recording studio in the basement of a butcher shop for 14 years... it was called, "Meat Market Melodies".

It had a cement floor/foundation with cinder block dividing walls and a sheet rock ceiling.
My build was amazingly similar with a wall mounted, 240 volt Air Conditioner suspended inside two boxes with the exhaust blown to a grating on the outside side walk.
After my initial build, I was faced with the same nasty echos compounded with a 17kHz standing wave (floor to ceiling).
When you clapped your hands, a fast, short duration echo bounced back and forth between the floor and the ceiling... it sounded like buzzing.
The standing waves were eliminated with carpet padding and tightly woven industrial carpeting - Sonex tiles were glued to the ceiling.
Several large, rock wool backed, canvas paintings helped to dampen the wall echos and they looked better than more Sonex!!!
Can't wait to see the finished product!!!
Re: DIY build - garage studio
Posted: Sun Dec 29, 2013 12:39 pm
by Tortuga
Thanks to both of you for the thread revival & glad you finally found me, ajaxlepinski!

I'm definitely worried about the type of echo you're talking about. The room has some serious crazy stuff going on in there - it's kind of exhausting when I'm working in it, with everything continuously echoing. Hopefully, it'll be controllable with some DIY treatments like what you and SenatorClayDavis mention. One thing I did notice is when I had some family over for the holidays, and I had about 8 of us in the room taking a look - it really helped soak up the high-end echoes, which was encouraging.
I'm still trying to get back to finishing the room - it's been the better part of 2-1/2 months since I've been able to do any real work in there, and between house projects and my busy work schedule, it's been tough. Best part of the studio so far is that I was able to finish the majority of the rooftop, which has made for excellent storage!
I'm actually hoping to get out there today and do some clean out of the painting equipment and other stuff that's collected, so that I can finally get back to finishing it.
For the record, my short list of things to do
* finish smoothing the tape joints & screw holes
* spray texture
* paint walls & ceiling
* finish electrical outlets & lighting
* finish connecting electrical mains to master cutoff / breaker subpanel (and hopefully power up the room without incident)
* cut-in air intake (fresh air supply)
* build air mufflers for intake and a/c exhaust ports
* install flooring (probably going with commercial-grade carpeting, hopefully with padding)
* assess, design, build, and install wall & ceiling treatments - will likely include corner bass traps
Re: DIY build - garage studio
Posted: Mon Jan 06, 2014 7:39 pm
by Steinmetzify
WAY cool thread; was kinda bummed that I got all the way to the end and it wasn't finished lol.
Watching for updates, man...looks awesome so far.
Re: DIY build - garage studio
Posted: Tue Jan 07, 2014 8:13 am
by Tortuga
Sorry to disappoint, but I WILL do whatever I can to make sure this story has a good ending. Stay tuned!
Re: DIY build - garage studio
Posted: Tue Jan 07, 2014 5:16 pm
by Steinmetzify
GRIMESPACE wrote:Sorry to disappoint, but I WILL do whatever I can to make sure this story has a good ending. Stay tuned!
All good man, wasn't disappointed at all. You're doing a great job so far, I'm just an instant gratification type of guy who wanted to see it done, was all.
I'll keep checking back, looks like a killer build so far.
Re: DIY build - garage studio
Posted: Tue Mar 11, 2014 12:23 am
by Tortuga
Wow - hard to believe it's been about 4 months since I've been working (in earnest) on the studio. I've had a pretty major life / work intervention, and other priorities had to be attended to. I finally got a spark about a week ago, and have been hard at it ever since.
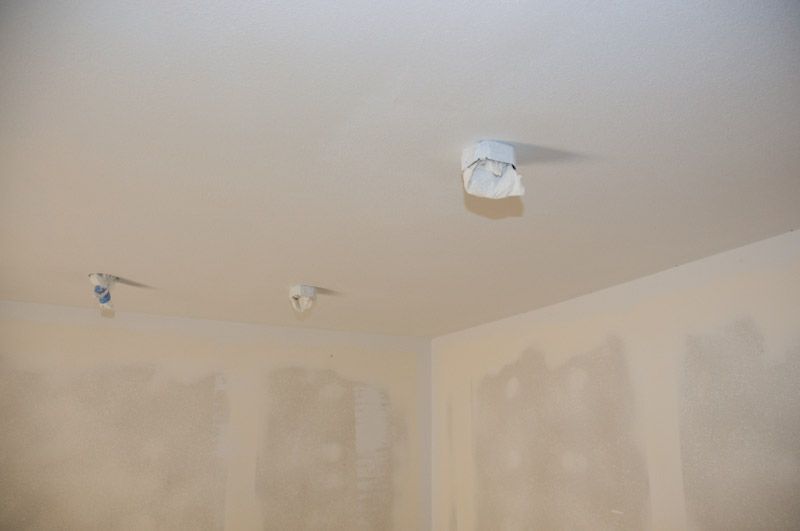
I'm going to do my best to bring this up to date. After the first coat of mud, lots (LOTS!) of sanding ensued. It took several hours over a few days (really takes a toll on your shoulders, neck, and arms - especially when working overhead) to get everything smoothed out.
Here's a before/after view of the A/C niche, for anyone interested in how things progress in smoothing out walls
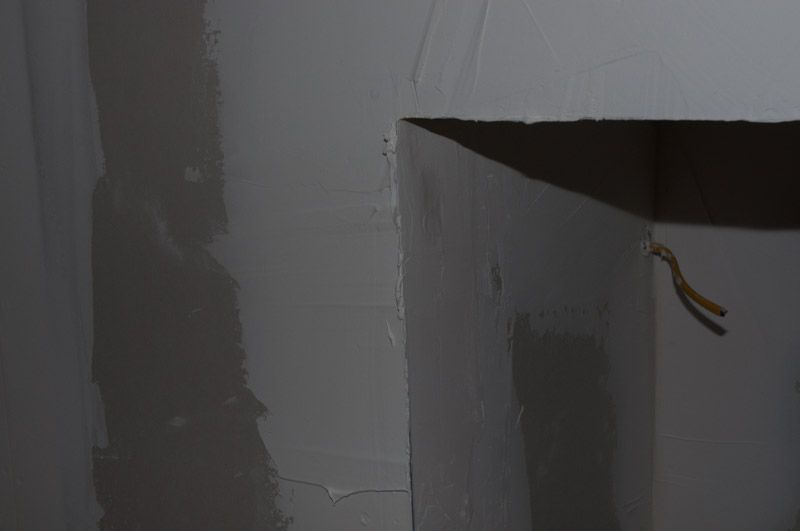
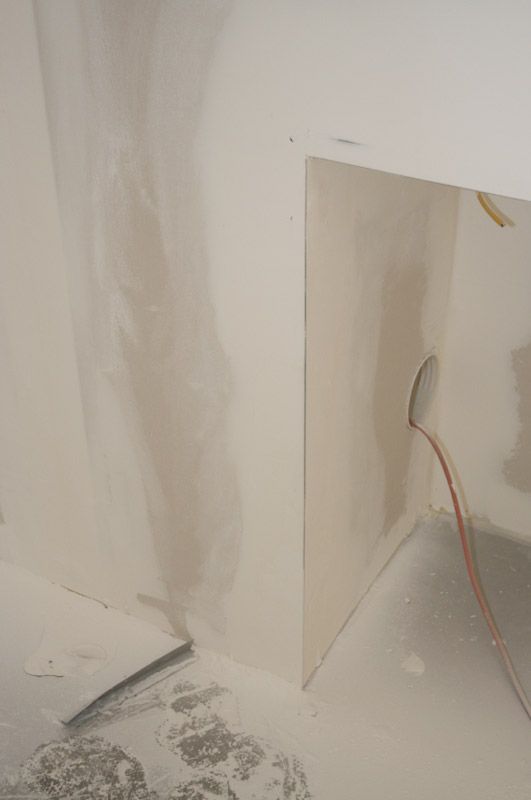
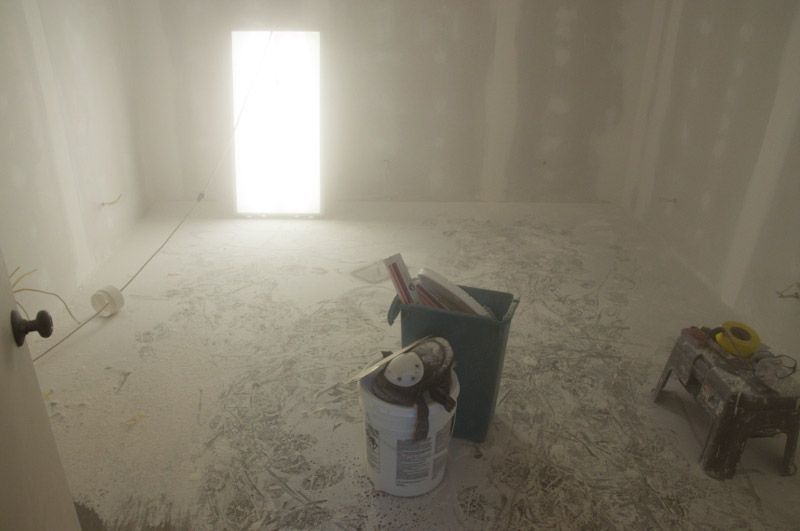
And some of the sanding dust that I didn't ingest
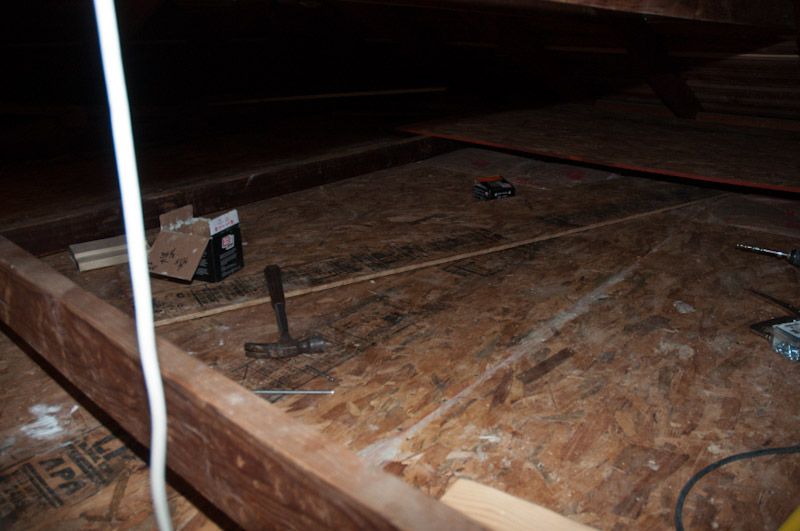
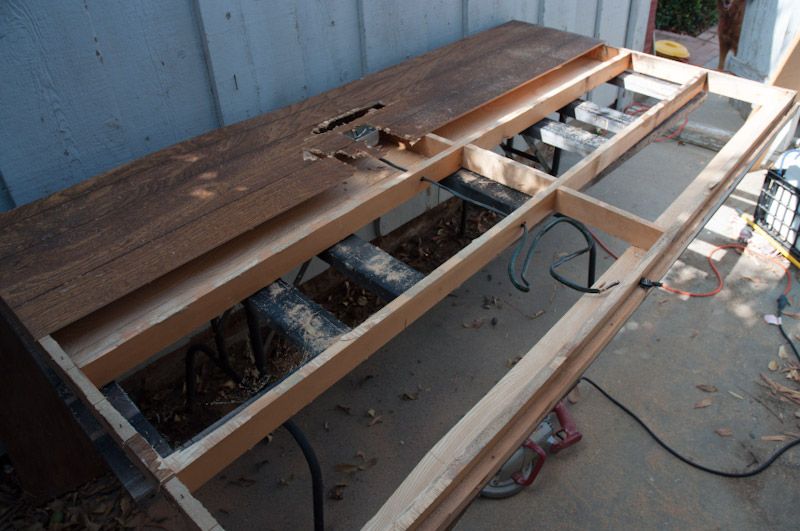
One of the last things I did back in October was to finish out part of the studio 'roof', which doubles as a storage platform, so we could finally store away a bunch of the crap we emptied from our garage the prior July. It's hard to get pics up there, but this gives a flavor of how it went. I caulked & fastened down about 7 sheets of OSB and then covered them with Masonite (tempered hardboard) for extra mass as well as provide a nice slick surface to put stuff on, which makes it easier to maneuver around.
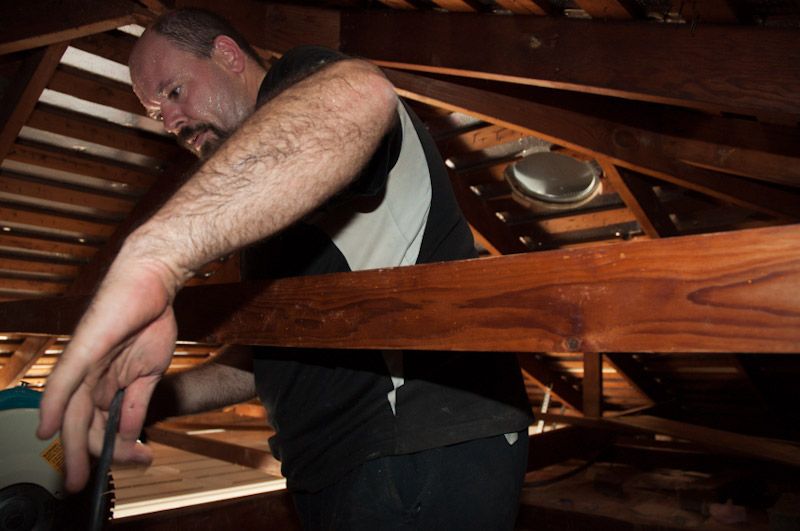
And my 'cheap labor'
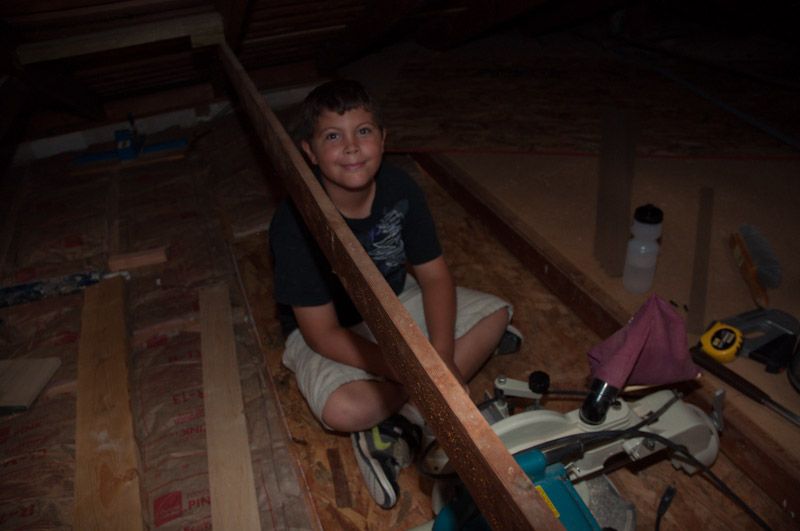
...hell yes, it was hot up there
Re: DIY build - garage studio
Posted: Tue Mar 11, 2014 1:38 am
by Tortuga
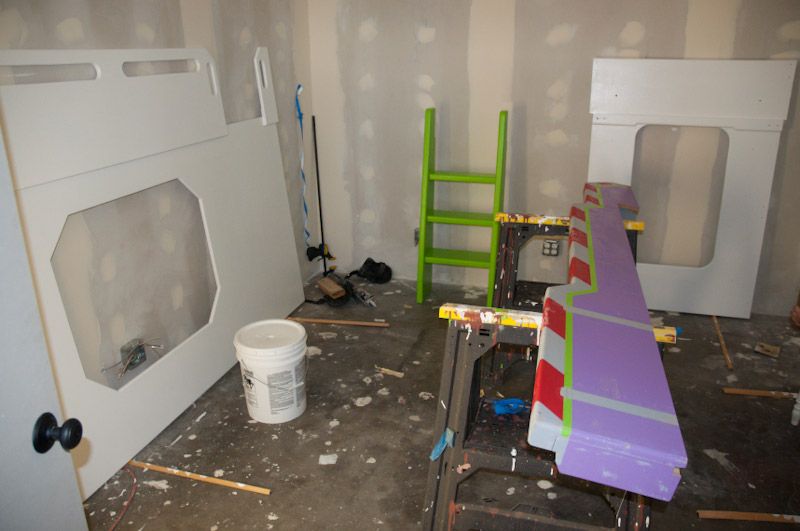
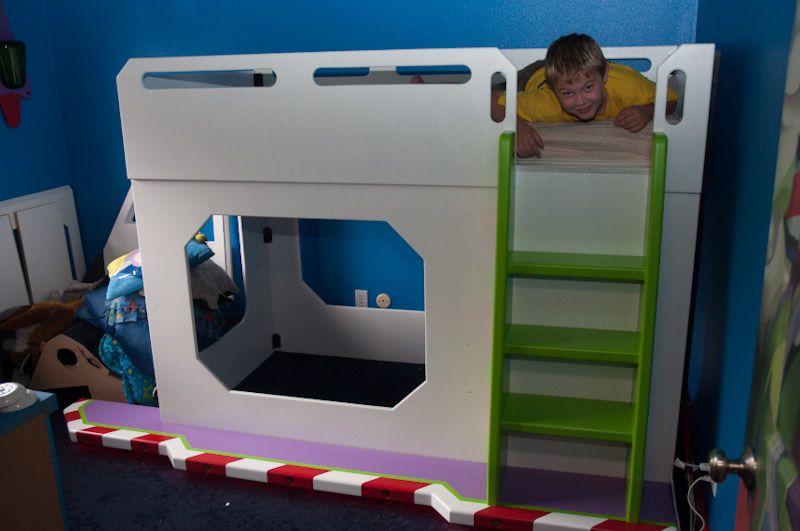
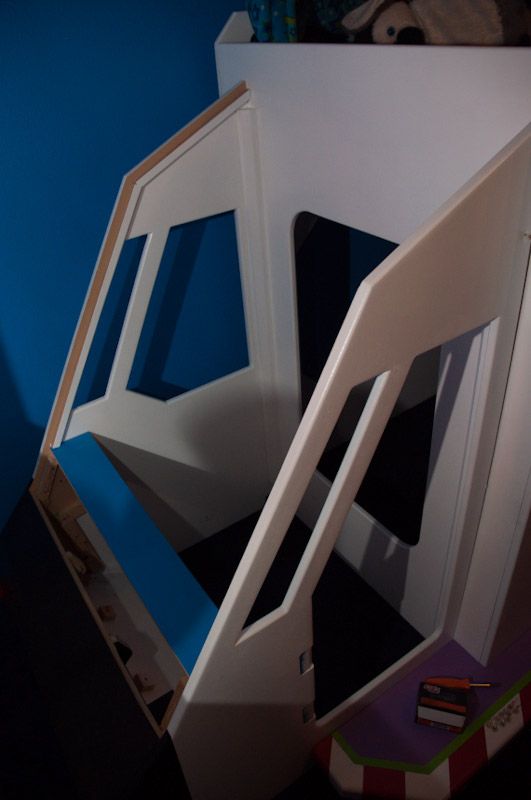
That's about as far as I got before other priorities intervened. I've been working on a major software conversion at work since 2011, and knew it would cause me to slow down dramatically (it did). I also had some promises to keep with my kids, in the form of a facade for a future haunted house that we set up in front of my data center at work, a Minecraft costume that looked "so easy" to do according to my wife (and cost me probably about 20 hours of intense work), as well as repainting the space shuttle bunk bed I built for my sons several years ago, and had to be dismantled back in 2011 due to a grey-water flood that ruined most of the flooring in my house. The cool thing was that the studio provided a fantastic place to paint and build projects. Here's a few self-serving glamour shots. I promise, more studio stuff is coming next
By the way - if you look, you'll see the electrical boxes we installed to house the electrical outlets and light fixtures. They're done a bit different than standard in-wall electrical is done, and will be discussed in the next installment...
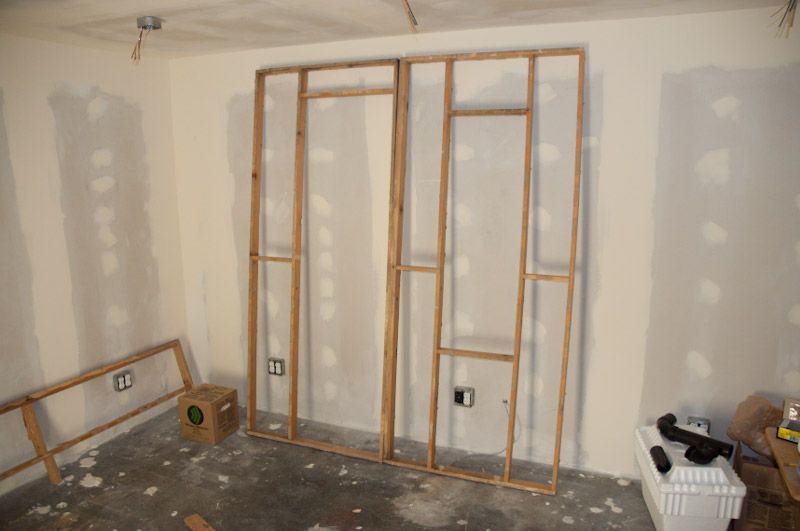
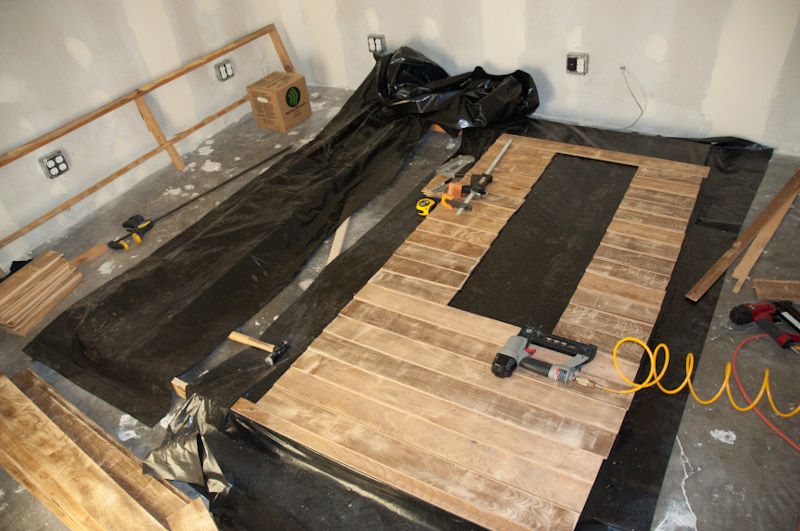
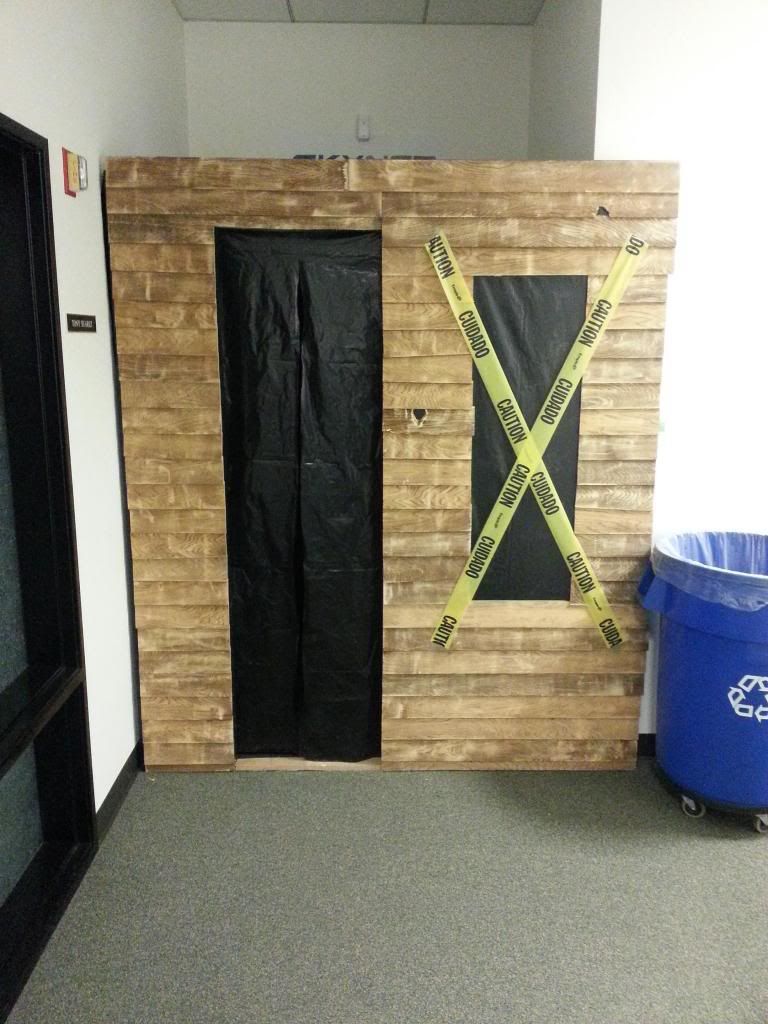
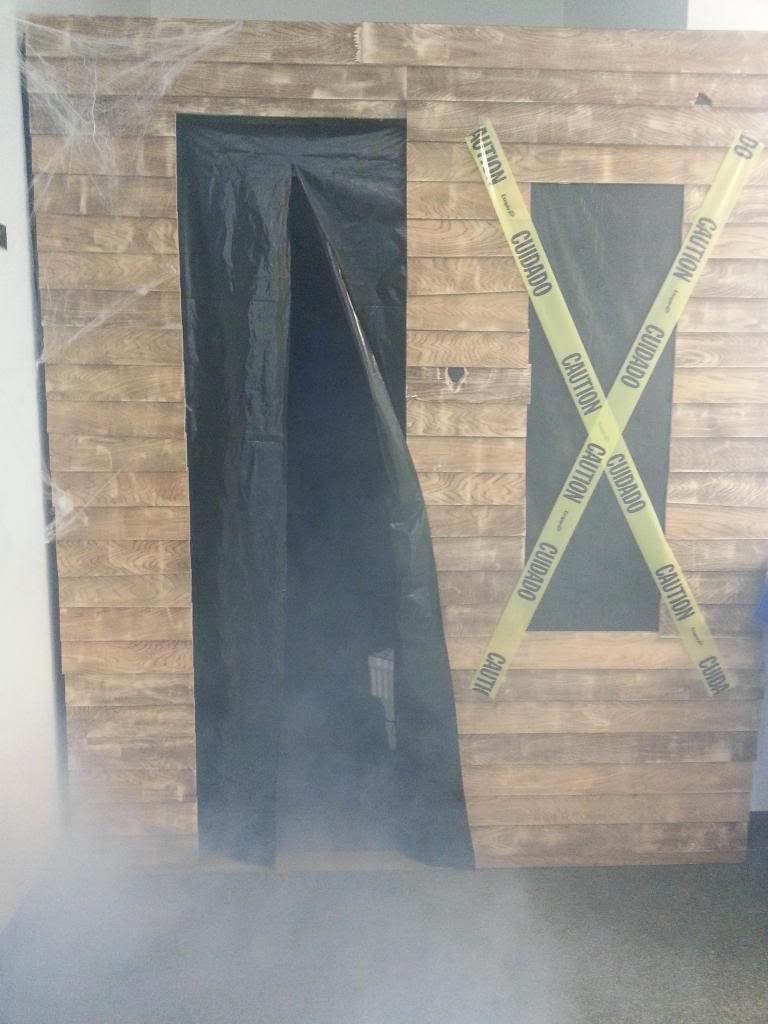
Haunted House Facade - recycled from the partition walls we removed from the garage to make way for the new studio. I cut the panelboard into 4" strips that were to be nailed like clapboard onto the modified framing. It turned out pretty cool. We actually built a moving ghost in the data center, had fog going, the whole bit.
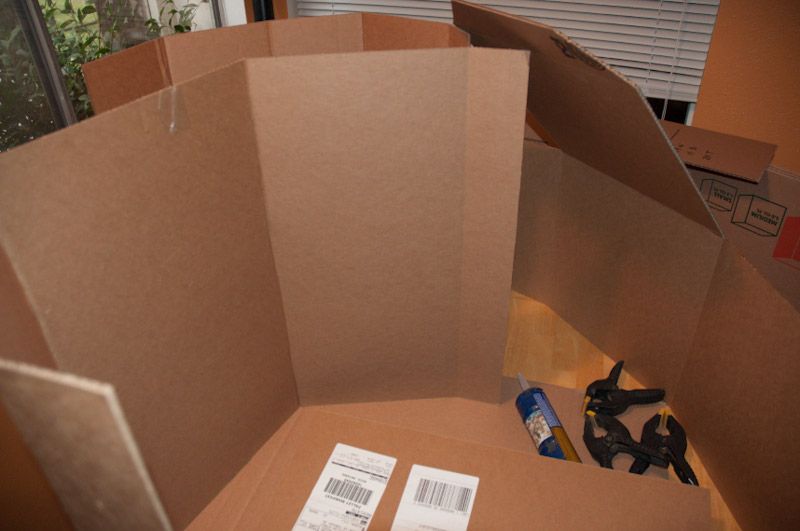
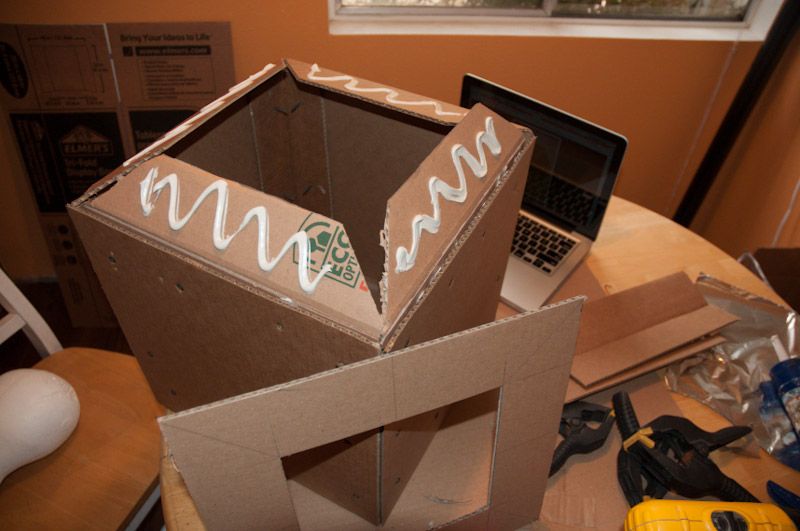
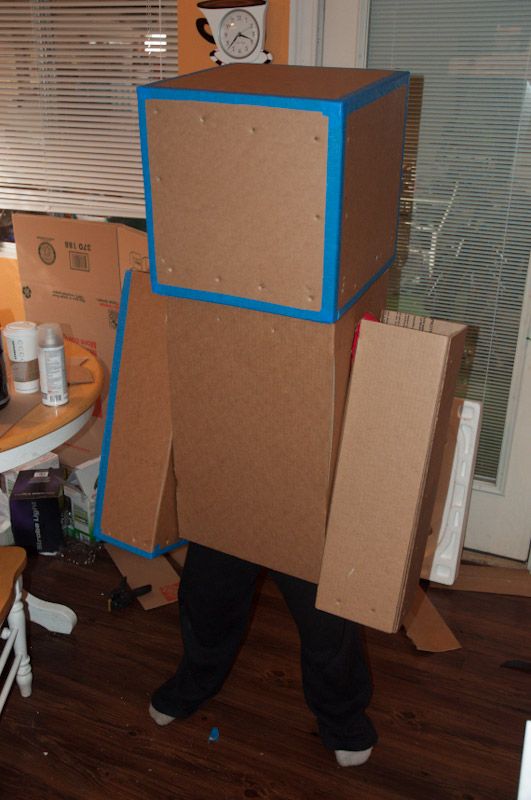
Minecraft costume - custom sized & built cardboard boxes with skins that also had to be sized and printed on a large color printer at Staples.

Space shuttle bed - there's a fairly good pic on the first page of this thread showing the whole thing in place. Someday, I need to do a photo essay of how I built this room. Lots of stuff in there, but that's a whole other story. And no, I didn't see the Buzz Lightyear ride at Disneyland before I made this room. I think they must have gotten the idea from me
Ok, enough of that digression for now. Back to rawk
Re: DIY build - garage studio
Posted: Tue Mar 11, 2014 7:18 am
by BlackWolf
Awesome thread, man!
Can't wait to see the finished product.

It's nice to see the kids hanging around and being a part of it. Really really cool.
Keep up the awesome work.
Re: DIY build - garage studio
Posted: Tue Mar 11, 2014 8:53 am
by Tortuga
BlackWolf wrote:Awesome thread, man!
Can't wait to see the finished product.
It's nice to see the kids hanging around and being a part of it. Really really cool.
Keep up the awesome work.
Thanks buddy - having the kids see and experience at least some of this with me is definitely the best part. It happened to me with my Dad, who remodeled our house when I was just about the same age as my oldest, and it had a huge impact on me. Learned a lot, and it stuck.
Got more ideas for involving the kids with decor a bit later. Really excited about getting to that phase!
Re: DIY build - garage studio
Posted: Tue Mar 11, 2014 9:38 am
by Tortuga
After my extended break, I got back to the work the weekend before last. I know I was dreading doing another course of mudding the joints, sanding, and probably doing it another time before I could finally move past it, but I put some good music on and persevered. No pics of the process - just craploads more time running the trowel and sanding, sanding, sanding. I think I may have said something earlier in this thread about looking forward to this part - it take it all back. It's one thing doing a little of it in a room that I'm redoing - it's another thing altogether when it's the entire room. Sucks to be me at that time. The amount of fine powder generated in that little 13 x 11 x 7-1/2 room added up to several pounds when swept up and carted out to the trash.
After finishing the joints, I sprayed texture on the ceiling and walls. No knockdown or anything like that - just a good coat of orange-peel so to hide any imperfections and make it all look ok. Again, no pics to post - this process only took about 2 hours, including hauling my air compressor into the room, getting the mud ready, spraying, and then cleaning everything up.
The best thing about this was running the air compressor in the room with the door closed, walking outside, and finding that I could barely hear it. Now, I wouldn't say that it's the equivalent of a full band with drummer going for it, but that thing is still plenty loud, and does transmit a ton of noise into the ground - you can actually feel it with your feet. It was so loud that my ears were ringing the next morning after spraying. That I was able to run it in the later part of the night without anyone outside my garage hearing it (including my wife, who was just inside the house with the TV on) is a pretty good indicator that I'm onto something with the sound mitigation. And that's with some of the roof / cap still not completed, meaning there's only 5/8 drywall and layer (each) of insulation and rockwool keeping the sound in the room. Not trying to get my hopes up too high, but this may just work!
Which brings me to last Friday. Right after work and rehearsal, I started cutting in everything with primer, and was going to continue rolling the ceiling and walls, getting a huge head-start for the weekend. When I went to clean my brush in the laundry sink, I found that the water wasn't draining out - pretty much ending any chance of me working through the night and finishing up the paint. The drains in this old house aren't what they should be, and have caused me problems through the years. Unfortunately, I wound up having to call a plumber on Saturday morning and lost the entire day. Good thing I did - he found a blockage about 40' out, which I wouldn't remotely have been able to touch with the tools I have.
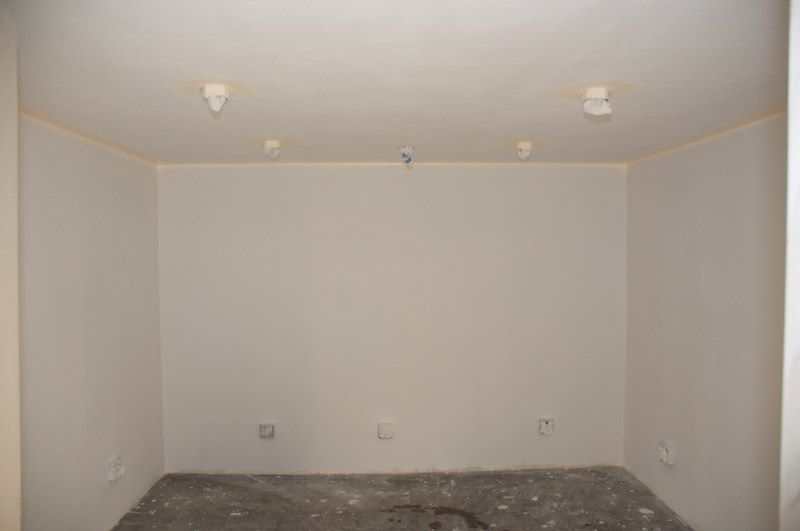
Finally got back to it on Sunday. Got started by rolling the ceiling and walls with primer. My younger son was anxious to try it out, so he spent a bit of time with me and that was real fun. Did grab my camera for that.
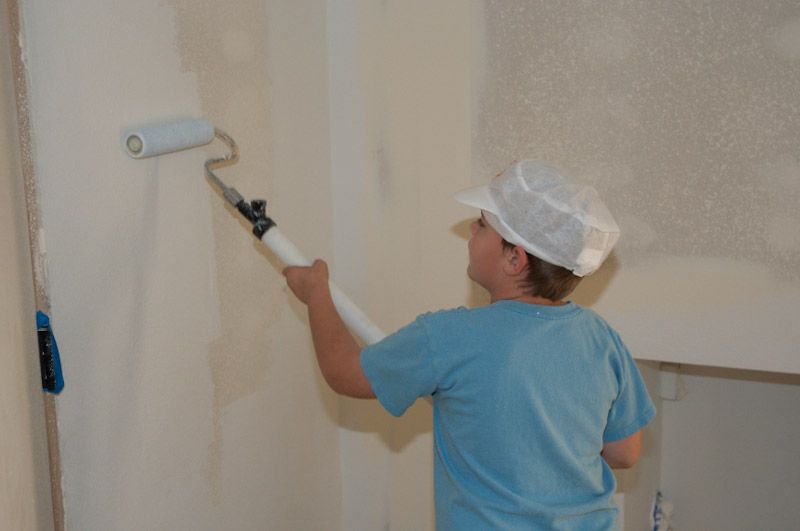
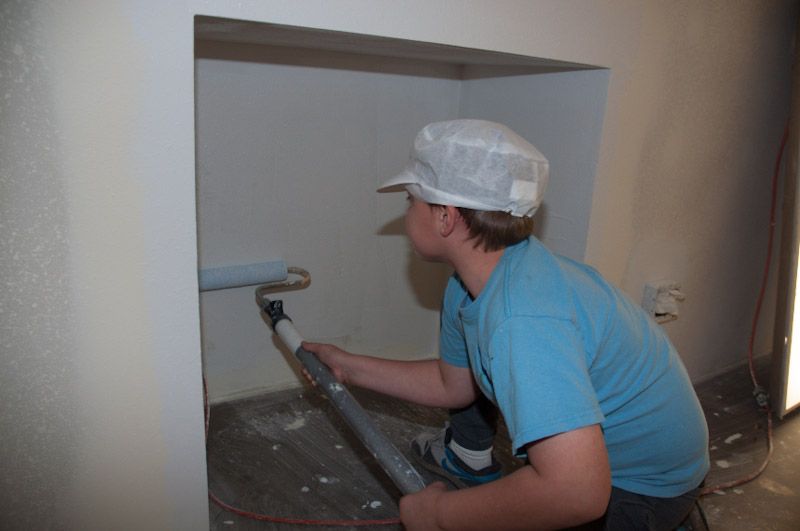
And after he decided this was real work and he wasn't being paid enough, he bailed and I got to it with some Gov't Mule blazing in the background.
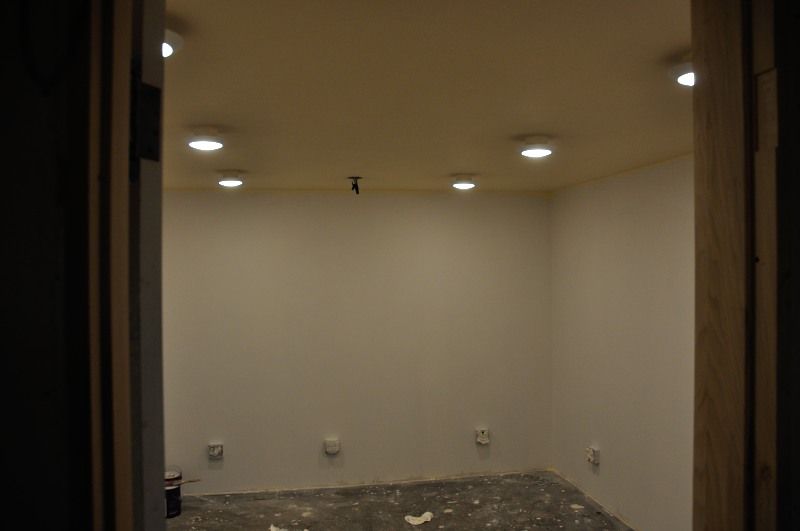
Room fully primered and ceiling cut-in (ready to roll the rest)
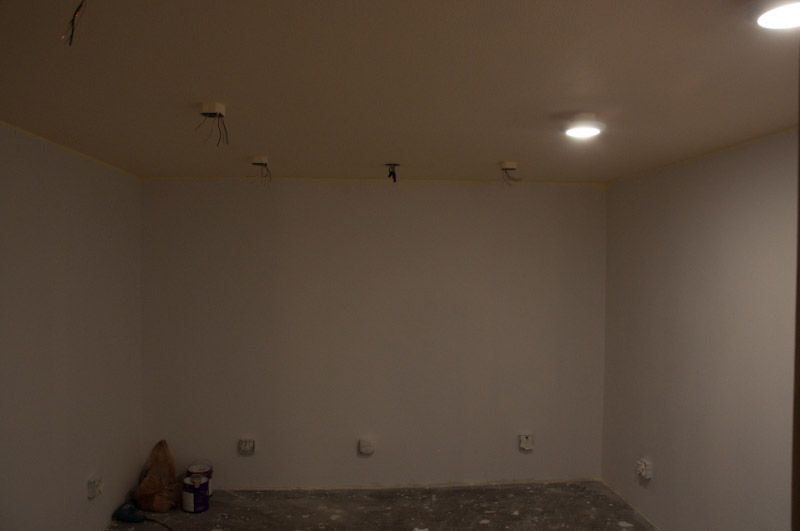
I finished up the weekend with the ceiling painted and started working on the lights. Managed to blow out my circuit once (man, it's incredible/scary when things spark due to a dead short
) but did get two of them working by the time I stopped last night.
Re: DIY build - garage studio
Posted: Tue Mar 11, 2014 1:35 pm
by Tortuga
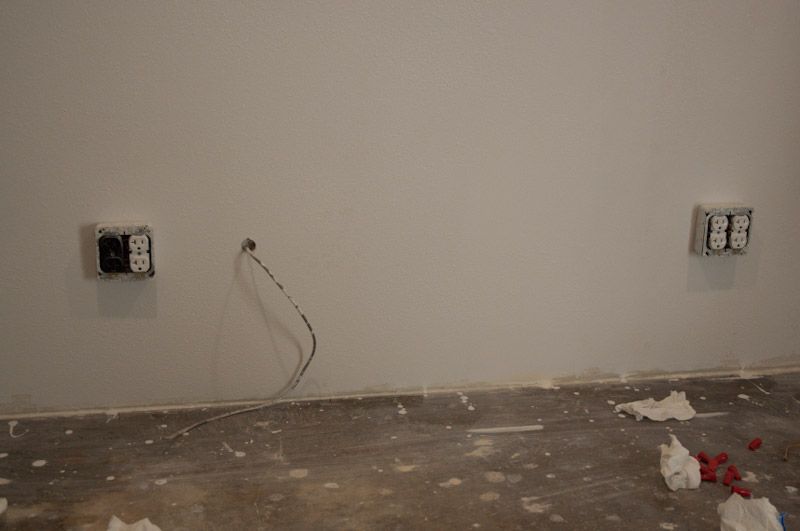
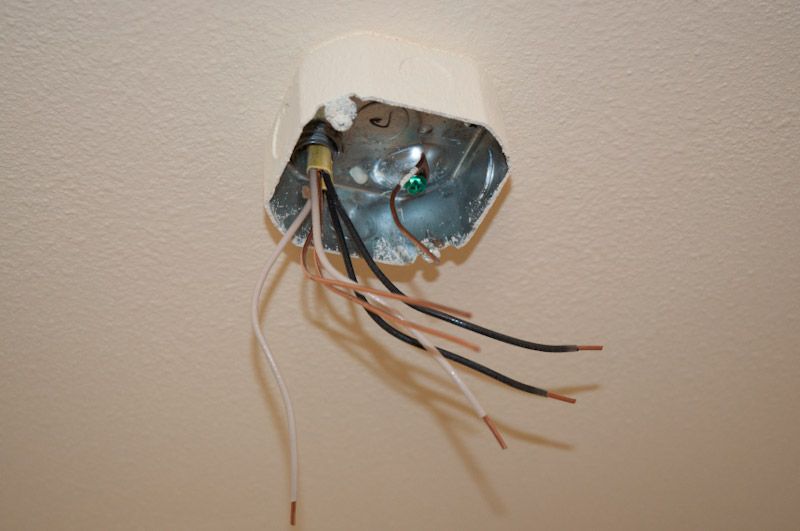
Let's look at electrical for a moment. Early in the project, I decided to surface mount all my electrical (with one small exception). The way I read things on sound mitigation, if you're not building a concrete bunker 10 feet underground, then the interior walls of a framed / insulated / drywalled system need to be fully sealed on the interior walls to keep sound pressure trapped inside, and any voids can compromise the effectiveness of this layer. In my case, I was concerned about punching fairly large holes for 10 or so electrical outlet boxes and another 6 for lights and trying to seal all that. It was far easier and more effective to mount the electrical boxes on top of the drywall, and only have to worry about sealing the small hole where the electrical cable comes through the wall. I gooped the hell out of each one with acoustic sealant as they were installed, and anchored them down well. When painted, they'll blend in well enough for my purposes.
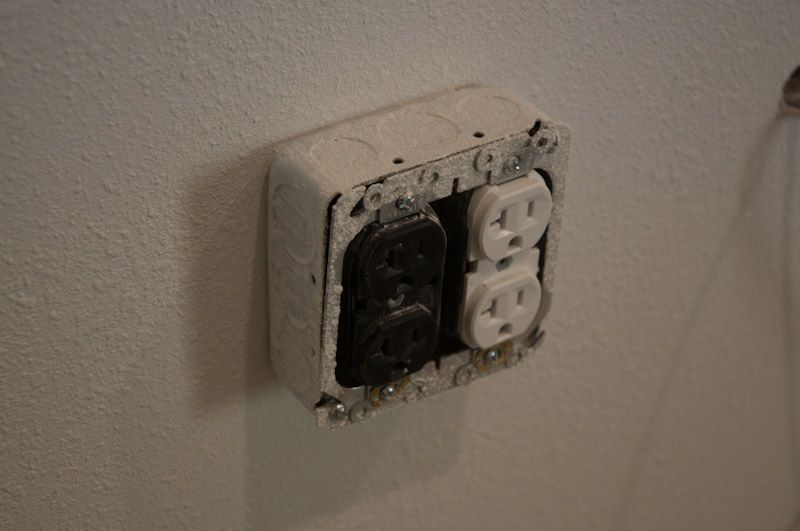
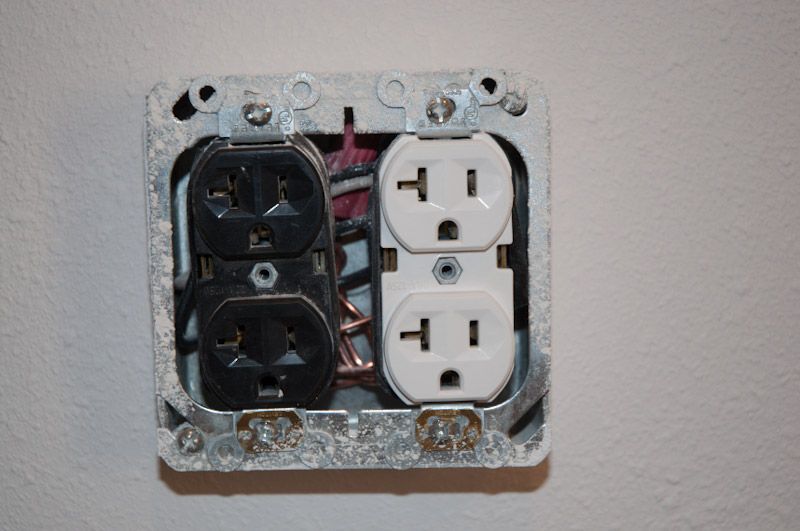
Here's some pics of the outlet boxes. I'm using a circuit panel just outside the door that'll act as a master cut-off for all outlets except one on each side of the room. That way, I can ensure that all my equipment is shut off when I'm not using the room by simply turning off the master, but still supplying power to a computer that'll probably be left on - that's why there's a black outlet on one of these.
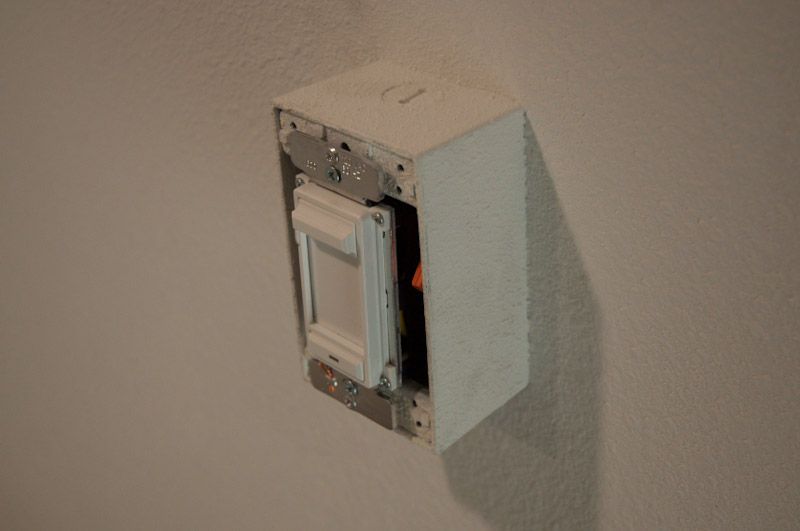
Dimmable light switch. I may add an additional set of decorative (sconce or rope) lights from this - haven't decided yet
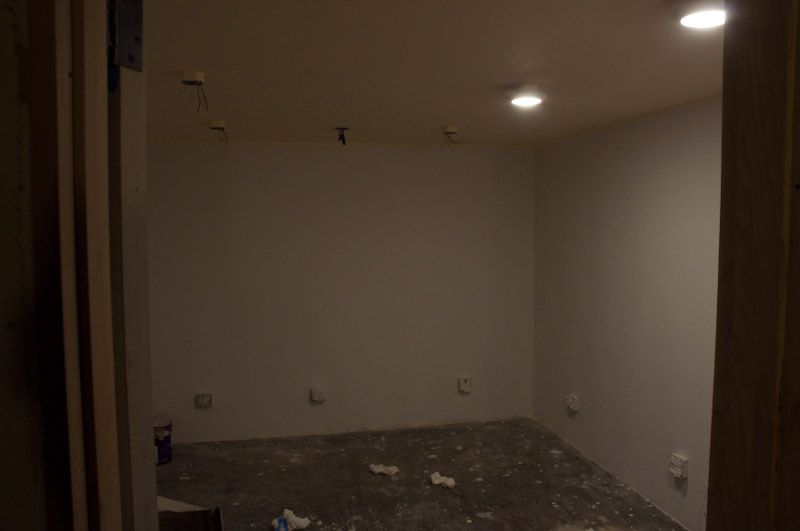
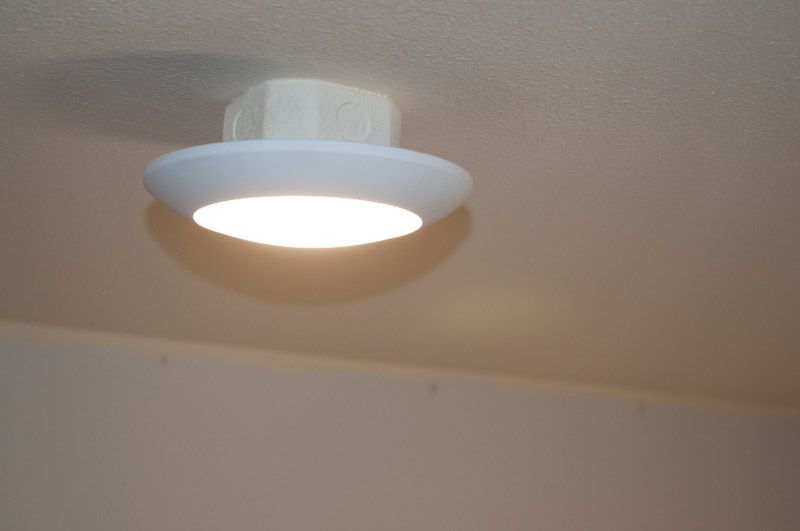
And the ceiling lights
The plan right now is to wrap up the lights and outlet boxes by this coming weekend so I can finish the paint and start getting the flooring in by the weekend after. Then I can move equipment in the room and use it as I finish up the muffler boxes and acoustics. Still lots to do, but I've just pressed through about 20 hours of the 40-60 I figured I had left. I've got company coming over on April 5, and made a goal of having the room ready enough to show by then. Fingers crossed!

Re: DIY build - garage studio
Posted: Wed Mar 12, 2014 9:38 am
by Tortuga
Finished the lights this morning. Not 100% satisfied with my wiring so will add to my list of things to check later, but they're working well and I'm moving on to painting the walls tonight!
Here's the latest
Re: DIY build - garage studio
Posted: Wed Mar 12, 2014 8:33 pm
by ajaxlepinski
Re: DIY build - garage studio
Posted: Thu Mar 13, 2014 1:10 am
by Tortuga
Thanks! Yeah, can't wait to christen the place for real. Ya'll are invited!
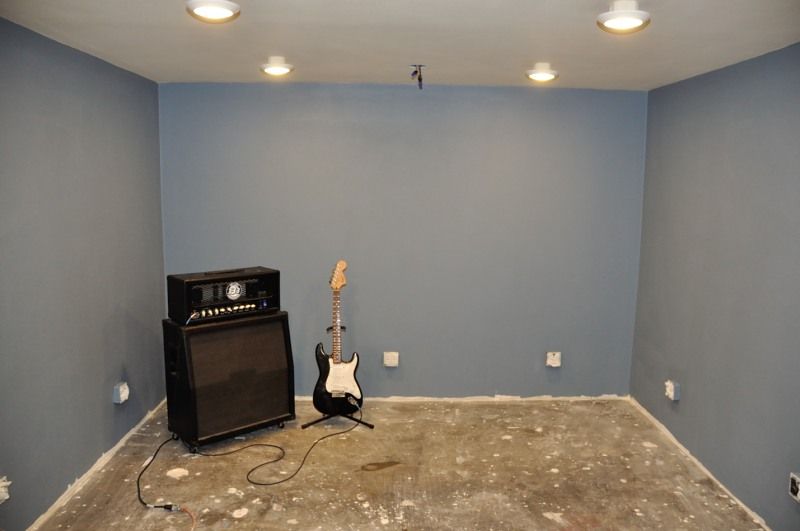
Speaking of jammin', got to jammin' on some (tinted) primer - final paint should go on tomorrow night, if all goes well. That color will be a bit darker, but this gives a good idea of what the final product will look like.
Oh, also (jammin') related, I cranked my amp a bit tonight. My wife check the sound level outside, and we're still pretty much ok, but that room is a friggin reverb tank, fo' sho' (like you all have told me). Can't wait to get the traps and other stuff in there to soak up some sound.
Re: DIY build - garage studio
Posted: Thu Mar 13, 2014 7:20 am
by BlackWolf
GRIMESPACE wrote:Thanks! Yeah, can't wait to christen the place for real. Ya'll are invited!
Speaking of jammin', got to jammin' on some (tinted) primer - final paint should go on tomorrow night, if all goes well. That color will be a bit darker, but this gives a good idea of what the final product will look like.
Oh, also (jammin') related, I cranked my amp a bit tonight. My wife check the sound level outside, and we're still pretty much ok, but that room is a friggin reverb tank, fo' sho' (like you all have told me). Can't wait to get the traps and other stuff in there to soak up some sound.
Nice color!


